3 min read
Now it comes time to explain events and tickets and to create our first event within Ticket Manager Pro for SureCart.
Each line is a separate event or ticket class in the backend, so if you were having one event called “Awesome Event” with three ticket classes, Standard, Premium and VIP, this would need to be set up in Ticket Manager Pro as three separate “events” i.e called as follows:
- Awesome Event – Standard
- Awesome Event – Premium
- Awesome Event – VIP
It is also intended that when an event has passed, you will delete that event from the database
Adding our First Event:
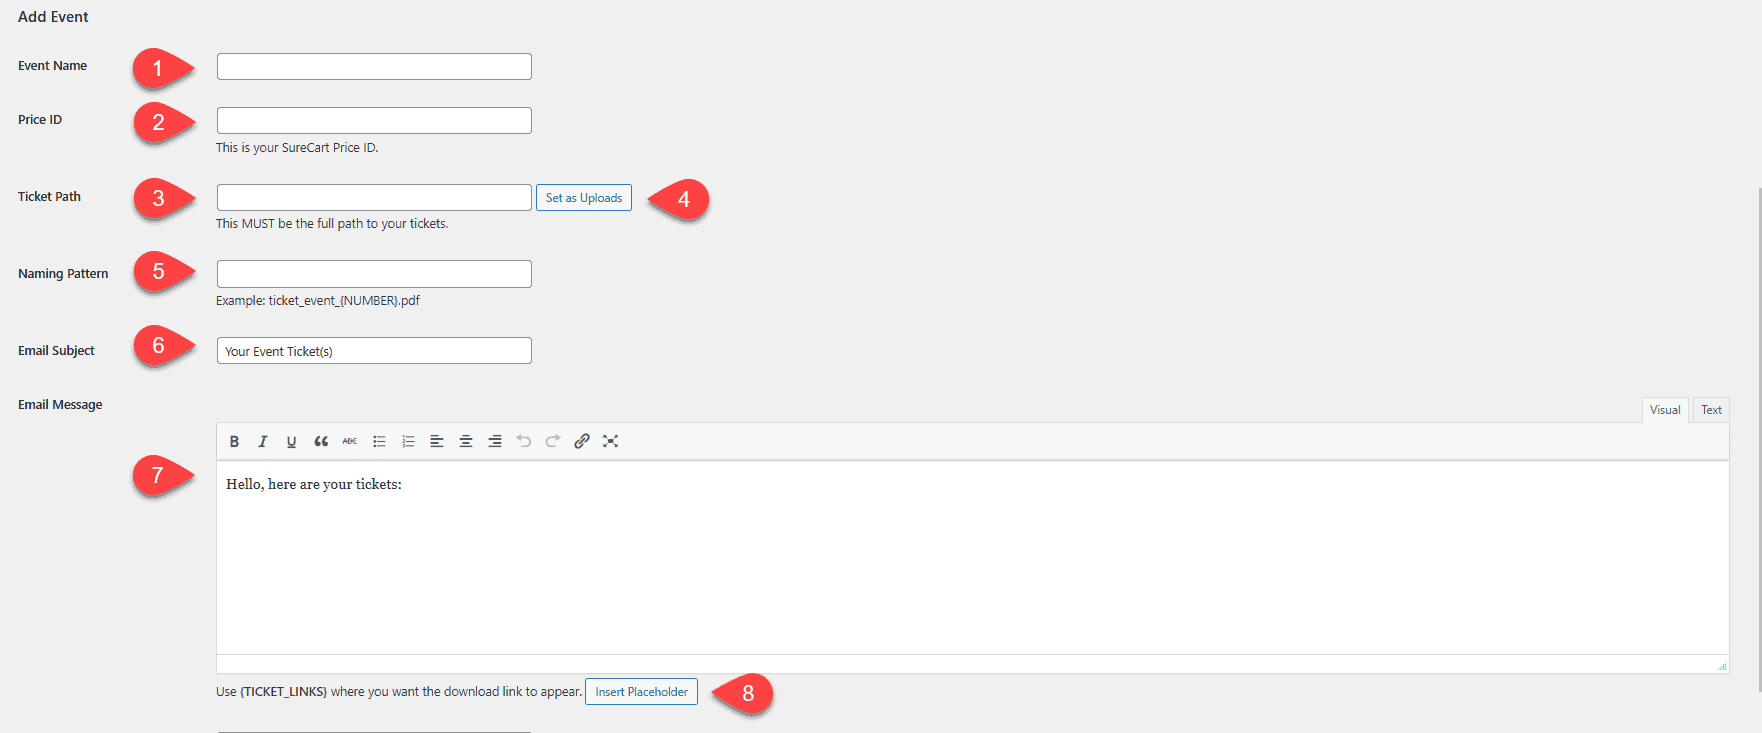
- We would add here the event name i.e Awesome Event – Standard
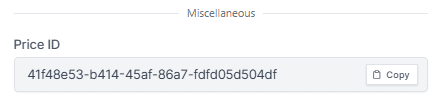
- This is used for our price id from SureCart, you find this when editing your product the two images below show you how to find this
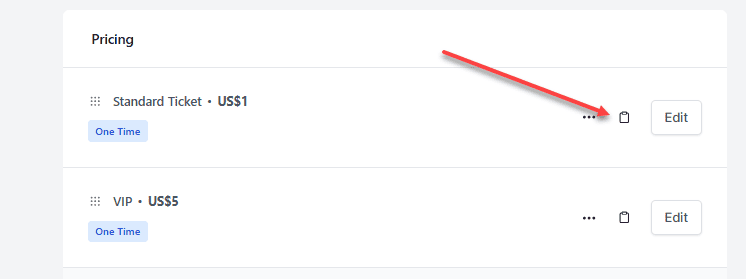
Then you need to the price id on the screen which pops up.
- Your ticket Path, which, for your ease, can be set as the WordPress upload file, but please see the note below and remember this has to be a full path!
Please Note: We have listened and made it easy and foolproof to use your uploads directory, but it is still strongly recommended that your tickets are stored BELOW Public_html for the security of your tickets. Everything above public_html is viewable. The set as uploads button can still be used and you can adjust the directory to be below without having to worry about working out what your path is.
- Push this to quickly and easily set it as your uploads directory
- You need to tell it how your tickets are numbered, replacing the action number with a {NUMBER} field to make it dynamic, this has to be in UPPERCASE
- The Email Subject Line
- For your Ticket delivery message, you can add the {TICKET_LINKS} shortcode to your emails to generate the download links. This is only needed if you select a delivery mode that includes email.
- This will add the shortcode for {TICKET_LINKS} where your cursor is.
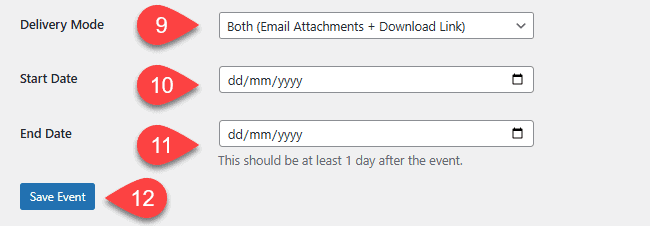
- Delivery mode, you have the options of Both (Default), Email only or Download Link only, if you select any option with Email it is recommended you use an SMTP plugin and use an external email provider for good delivery options
- The Starting Date of your event (This is a date of your event)
- The End Date (this is used to hide your events for the dashboard shortcodes) should be at least one day after the start date to make sure people can still get their tickets on the day!
- Then don’t forget to save
Once you have saved your event and its added there is an additional step to get your tickets ready, please make sure you have uploaded your tickets before doing the next step
You should now navigate to the newly added event and click the populate button this will then make your tickets ready to be sold.
That’s it we’ve added our first event
The Below Video shows you how to add your first event: